Setup
Pre-compiled binaries are not provided, so you'll have to compile it yourself.
This involves:
- installing Stack, the Haskell build tool, see the install instructions
- executing
stack buildin the project's directory
This will create a binary. For targetting a Linux distribution however, it's best if you compile on top of that distribution.
- if you're not using the target platform (e.g. Ubuntu, or whatever Linux flavor you're using on your server), it's best to compile in a virtual machine, setup with something like Vagrant, this is because .
Login to your server and for Debian/Ubuntu:
git clone https://github.com/alexandru/github-webhook-listener

cd github-webhook-listener
And after installing Stack:
stack build --ghc-options="+RTS -A2048m -n2m -RTS" --jobs=1
Such options for stack build are required on memory restricted
servers, because otherwise the compilation uses a lot of memory and
might crash.
For compiling on your own box, targetting another architecture:
- install Vagrant, see install instructions
- create an empty directory like
./vagrant-ubuntu64 - create a
Vagrantfile(see below) -
vagrant initfor setting it up -
vagrant upwhenever you want to start the virtual machine -
vagrant sshto connect to it via SSH -
vagrant haltfor stopping the machine once you're done
My Vagrantfile looks like this:
Vagrant.configure("2") do |config|
  # distribution
  config.vm.box = "ubuntu/bionic64"
  # sync your entire projects directory
  config.vm.synced_folder "/Users/alex/Projects", "/home/vagrant/Projects"

  config.vm.provider "virtualbox" do |v|
    v.memory = 4096
    v.cpus = 1
  end
endI created the following files, along with their directories on my Ubuntu box:
# The compiled binary, it's a single file that has to be somewhere
/opt/github-webhook-listener/bin/github-webhook-listener

# App configuration file, see below
/etc/github-webhook-listener/config.yaml
The configuration file that I placed in
/etc/github-webhook-listener/config.yaml (but it can be any location
as long as the binary is invoked correctly):
http:
  path: "/"
  port: 8181

runtime:
  workers: 2
  output: stdout

projects:
  monix:
    ref: "refs/heads/gh-pages"
    directory: "/var/www/monix.io"
    command: "git pull"
    secret: "xxxxxxxxxxxxxxxxxxxxxxxxxx"
Also create a systemd service configuration in
/lib/systemd/system/github-webhook-listener.service like this:
[Unit]
Description=GitHub Webhook Listener
Requires=network.target

[Service]
Type=simple
WorkingDirectory=/opt/github-webhook-listener/
EnvironmentFile=
ExecStart=/opt/github-webhook-listener/bin/github-webhook-listener -c /etc/github-webhook-listener/config.yaml
ExecReload=/bin/kill -HUP $MAINPID
StandardOutput=syslog
StandardError=syslog
Restart=always
RestartSec=60
SuccessExitStatus=
TimeoutStopSec=5
User=synchronize
ExecStartPre=/bin/mkdir -p /run/github-webhook-listener
ExecStartPre=/bin/chown synchronize:synchronize /run/github-webhook-listener
ExecStartPre=/bin/chmod 755 /run/github-webhook-listener
PermissionsStartOnly=true
LimitNOFILE=1024

[Install]
WantedBy=multi-user.target
NOTE: this setup file is specifying a synchronize user for executing the process. It is recommended that you create a special user, to have less privileges than root and to not be a "sudoer", for extra security.
To install this service, informing the systemd daemon about it:
systemctl daemon-reload

systemctl enable github-webhook-listener.service
TIP: you could also configure an Nginx server to sit in front, probably wise because you can then protect the requests via HTTPS too.
Go to the settings page of your project, the "Webhooks" section, link
should be like: https://github.com/<user>/<project>/settings/hooks
Setup screen for adding a new Webhook should look like this:
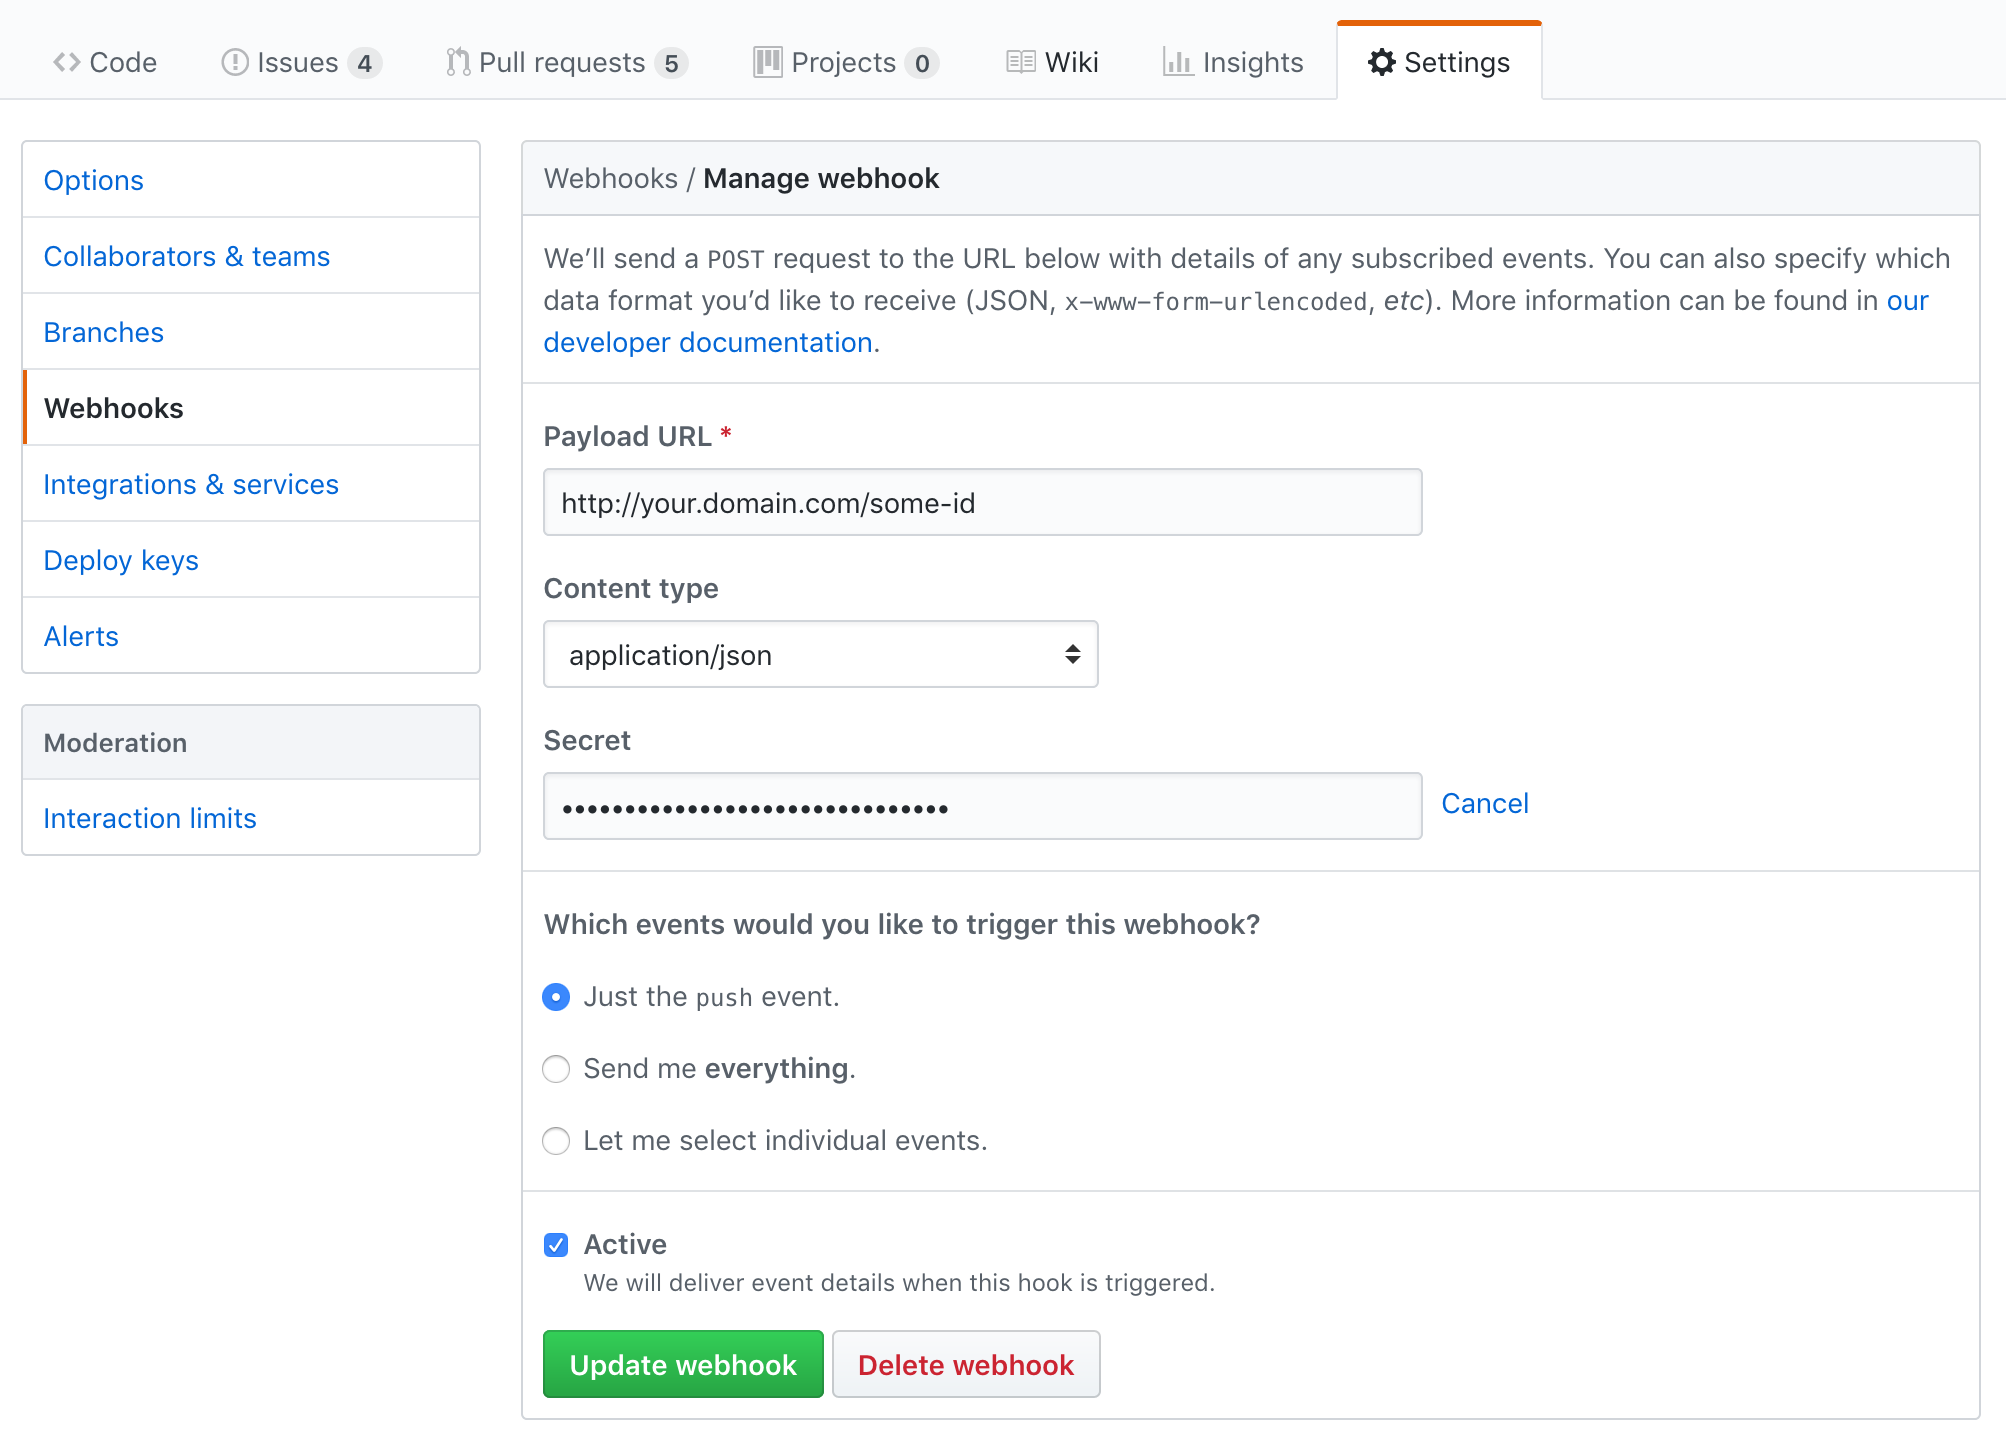
NOTEs on those fields:
- the Payload URL contains a
some-id, in the described path, that should be configured in yourconfig.yamlfile to identify your project - the Secret is the passphrase you also configured in
config.yaml— this is optional, but if theconfig.yamlmentions a passphrase which you're not mentioning in this setup, then requests will fail